� 2019 JimVonBaden/JVB Productions
�
R1200GS Odyssey Battery Change:
Caution: This pictorial is for informational purposes only. I accept no responsibility for accuracy, or any damage caused to your motorcycle if you choose to perform these maintenance items.
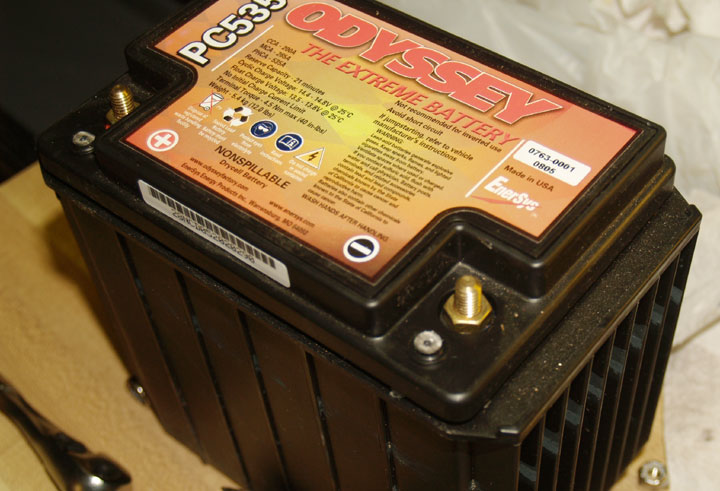
A while back my friend Kermit realizes his battery of 2+ years, and 42K miles on his R1200GS was dying a slow death. I advised that I thought the Odyssey PC 535 Battery would be a good replacement, and while he was picking up one for him, pick me one up too. My R1200GS, 05 with 40K miles, was going too.
We then undertook the minor task of installing one in his bike (appropriate for 2004-2011 R1200GS).
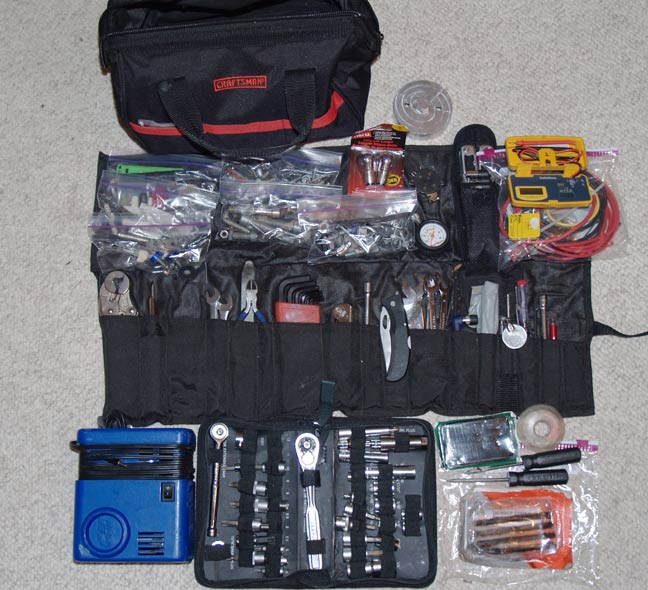
Tools in hand, we got started.
Caution: This pictorial is for informational purposes only. I accept no responsibility for accuracy, or any damage caused to your motorcycle if you choose to perform these maintenance items.
A while back my friend Kermit realizes his battery of 2+ years, and 42K miles on his R1200GS was dying a slow death. I advised that I thought the Odyssey PC 535 Battery would be a good replacement, and while he was picking up one for him, pick me one up too. My R1200GS, 05 with 40K miles, was going too.
We then undertook the minor task of installing one in his bike (appropriate for 2004-2011 R1200GS).
Tools in hand, we got started.
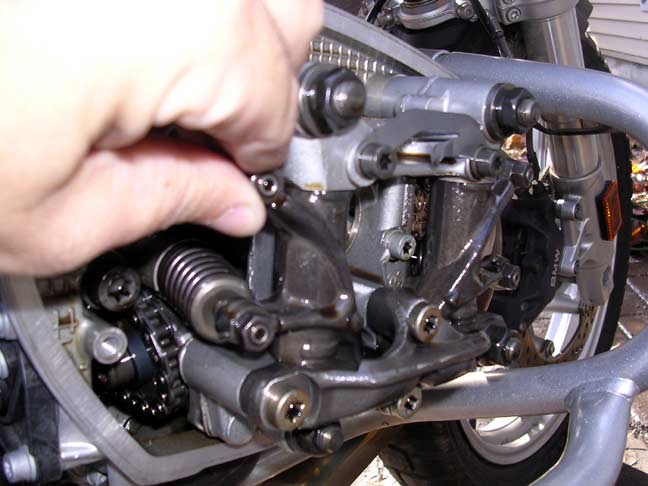
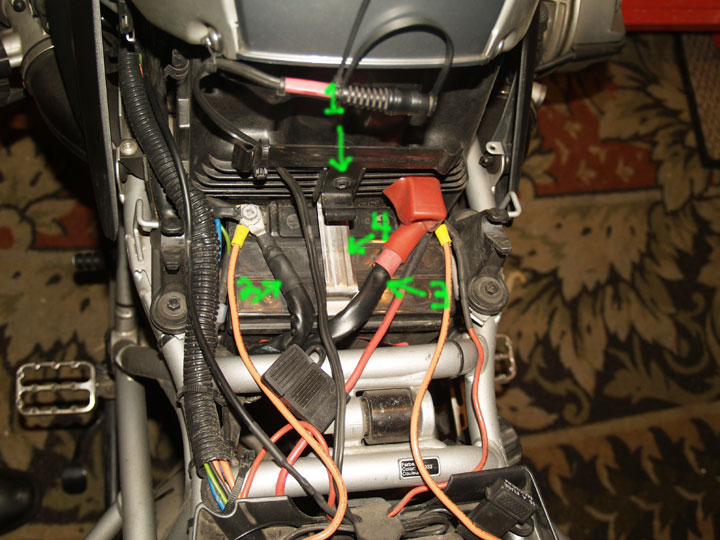
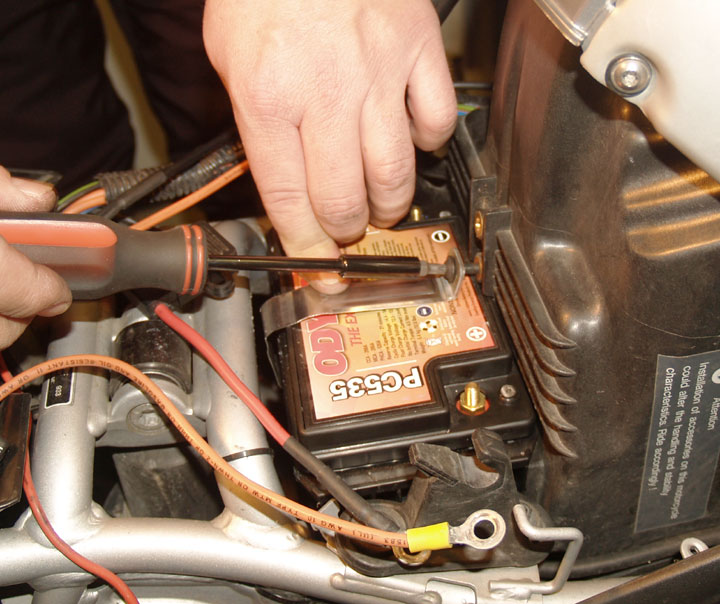
#1 is a T-27 Torx that held the manual clip. We removed it.
#2 is the negative battery cable, a 10 mm socket removed it, and it will be relocated.
#3 is the positive cable, the same 10 mm socket removes it. It will also be relocated.
#4 is the battery strap that hold the battery in, we removed it with the same T-27 Torx.
#2 is the negative battery cable, a 10 mm socket removed it, and it will be relocated.
#3 is the positive cable, the same 10 mm socket removes it. It will also be relocated.
#4 is the battery strap that hold the battery in, we removed it with the same T-27 Torx.
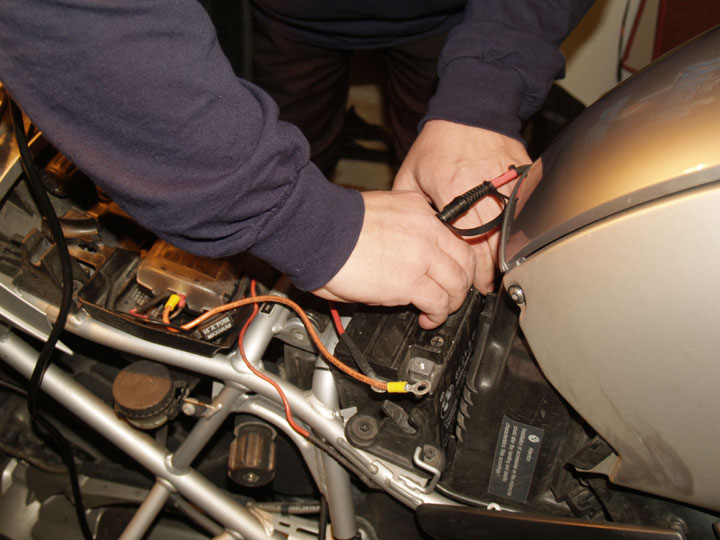
Then we simply lifted the battery out. Make sure you have already pushed the cables out of the way.
Next we go to work modifying the Odyssey Battery. Yes, this will void the battery warranty, and yes some have installed it without removing fins, but I would not recommend it.
Next we go to work modifying the Odyssey Battery. Yes, this will void the battery warranty, and yes some have installed it without removing fins, but I would not recommend it.
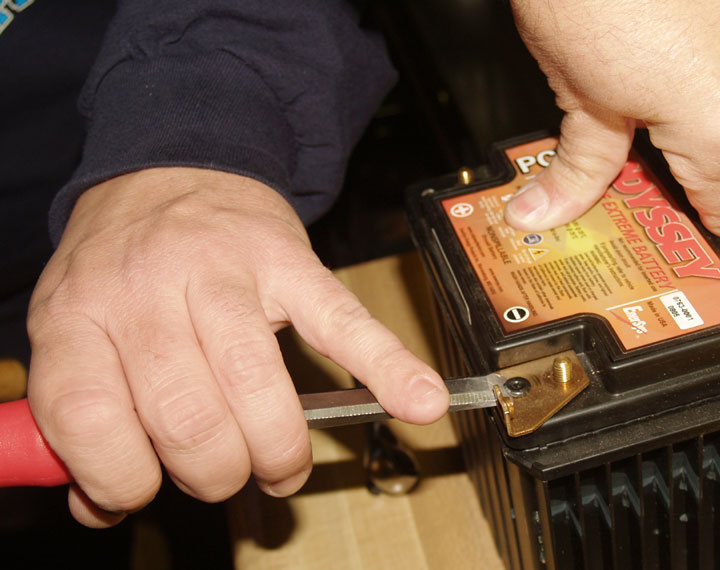
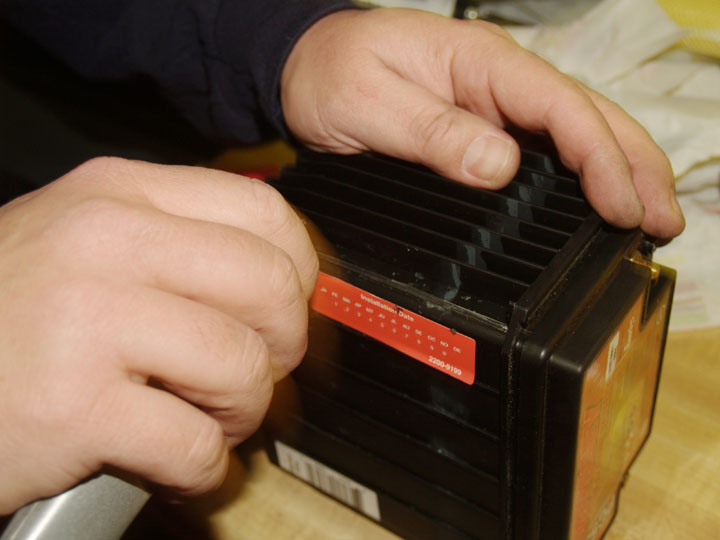
First we remove the brass wire mounting plates. Just two small plastic rivets. We used a small wood chisel to remove them.
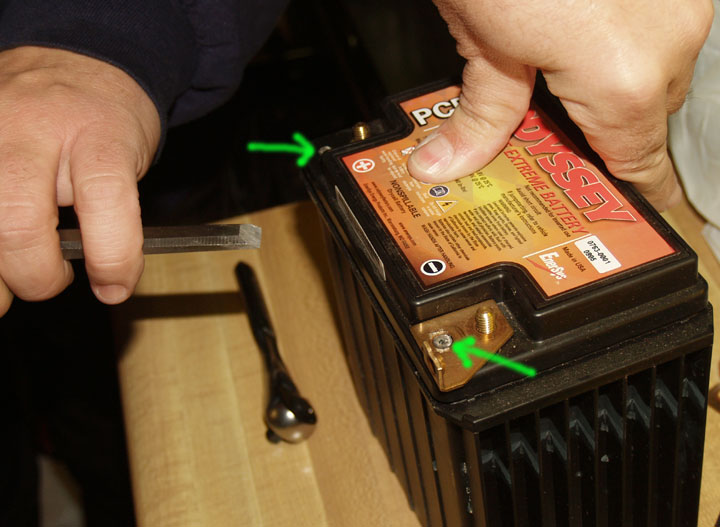
One on each side.
Clean. No need to trim the rivet bumps if you do not want to.
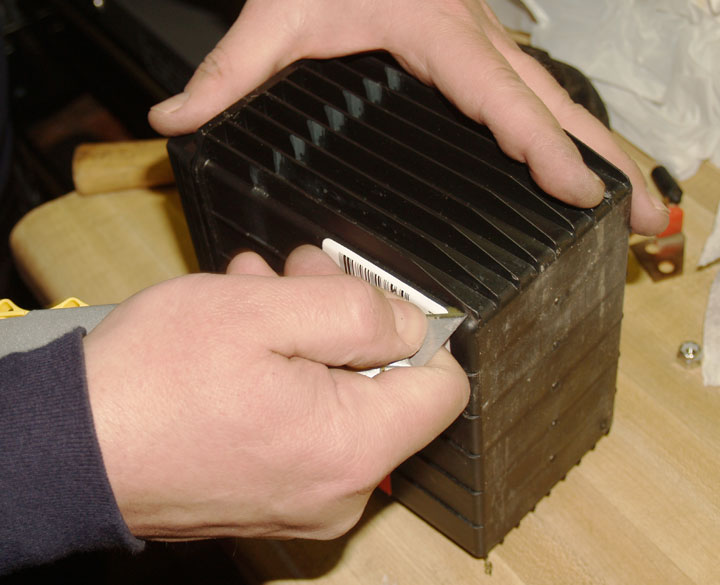
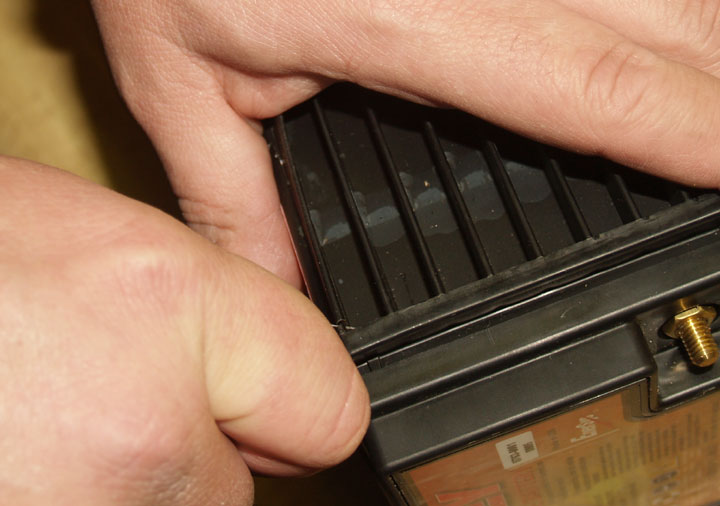
Next we trim the fins opposite the battery terminals. This helps give clearance for wires on the frame of the bike.
We used a simple carpet knife, sharp! Trim in several passes right flush with the battery case.
Be gentle, and careful. It cuts easier than you might think.
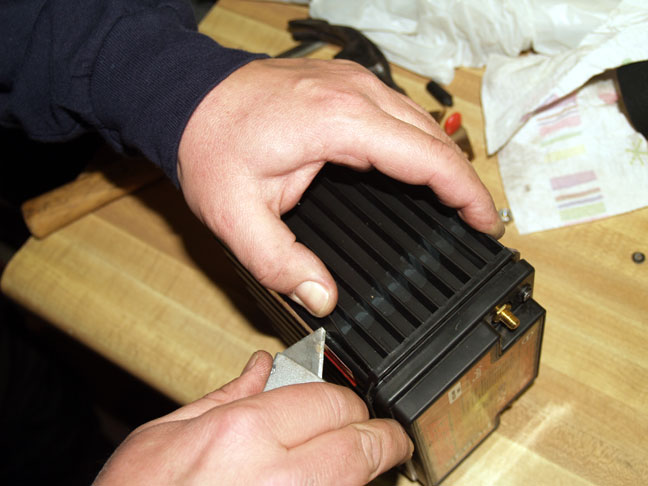
Trim the top edge straight down for a clean cut.
Clean up the edge left on the case, if you want.
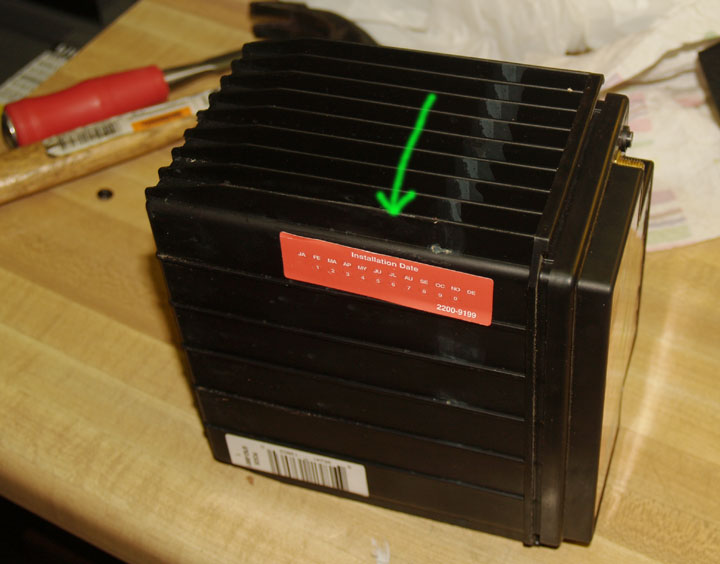
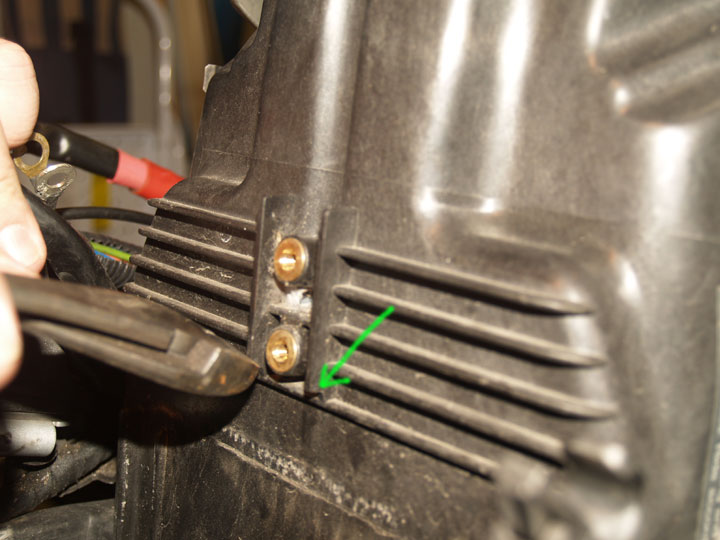
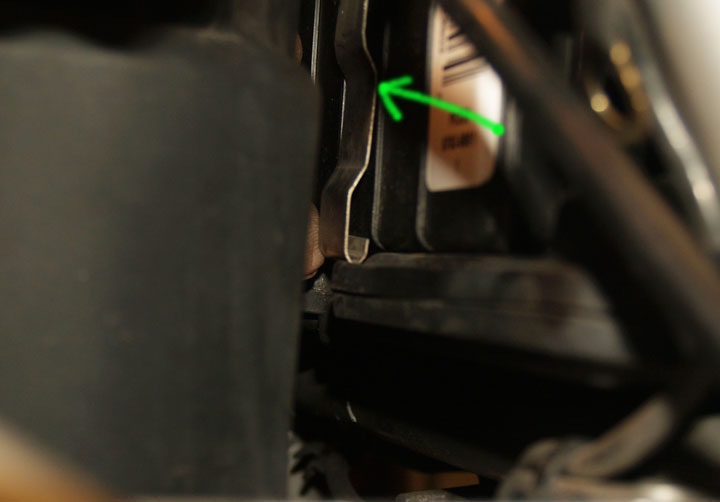
Place the battery in the box and check clearances. The ridge, arrow, will need about 1/8 inch trimmed off.
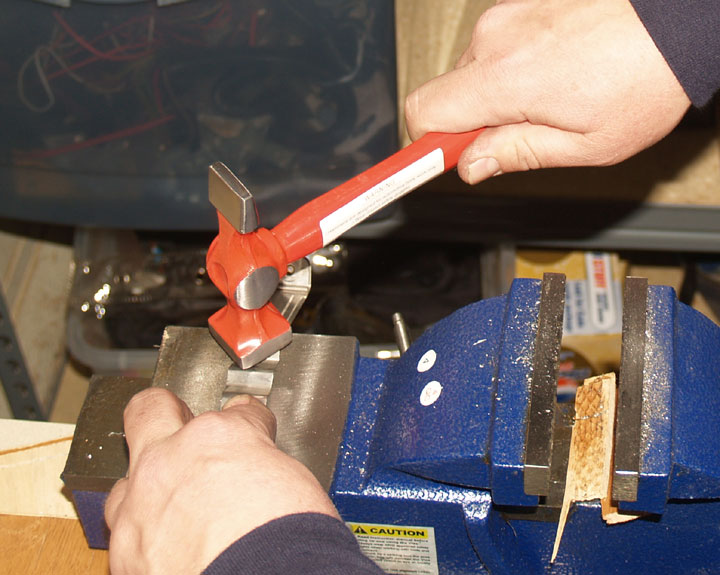
We marked it by cutting first with a carpet knife, then trimmed it clean with wire cutters after removing the battery.
Note: The battery is a snug fit, and needs a little persistence to pull out, but there is plenty of room.
Note: The battery is a snug fit, and needs a little persistence to pull out, but there is plenty of room.
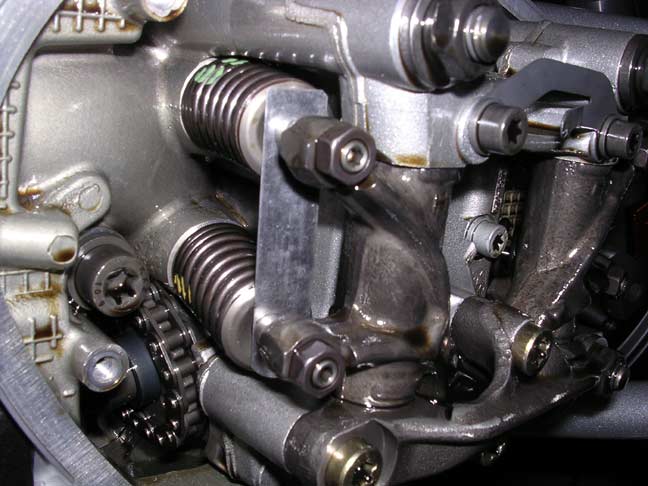
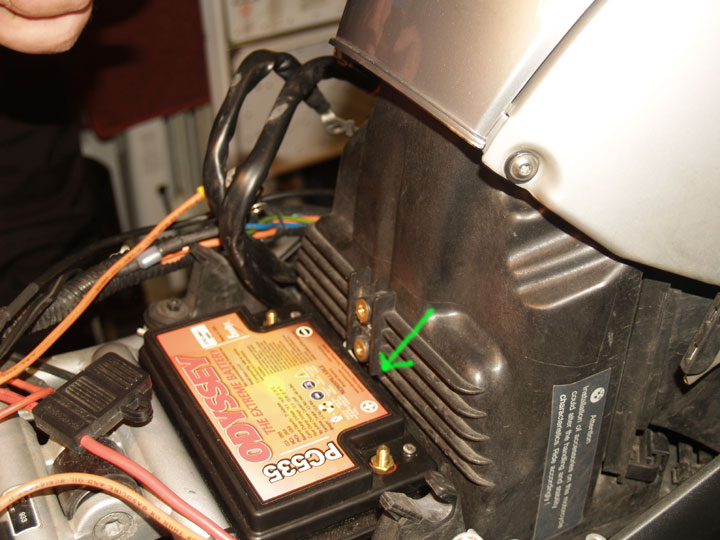
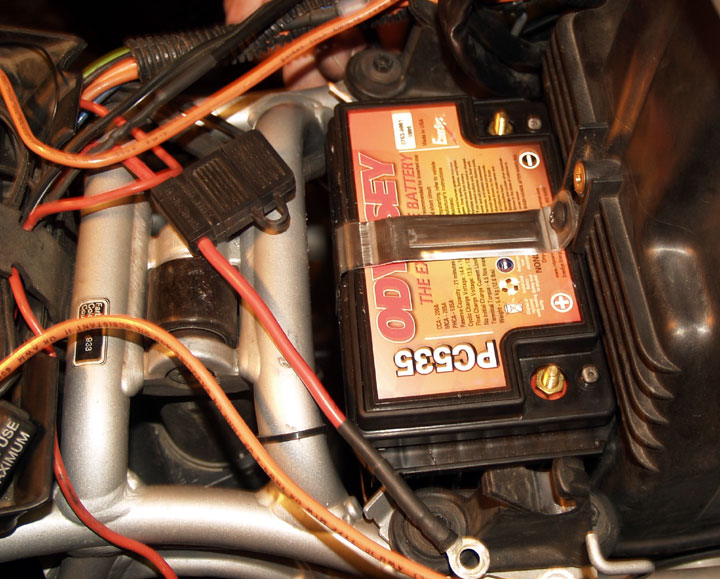
With the battery back in place, check your clearance. On the right is a brake line that you may have to tweak a bit to not touch the battery.
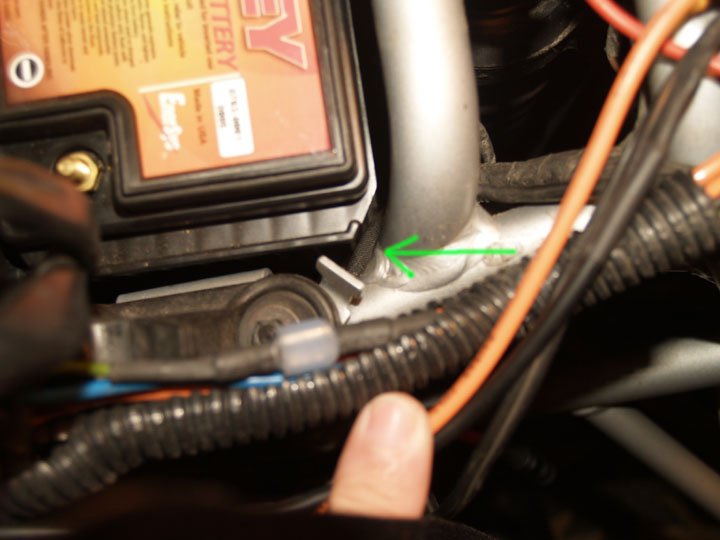
On the left is a small wire bundle that is close, see arrow.
If left like this it can chafe on the battery.
Pull it up, and secure it with a zip-tie. Not too tight, just snug.
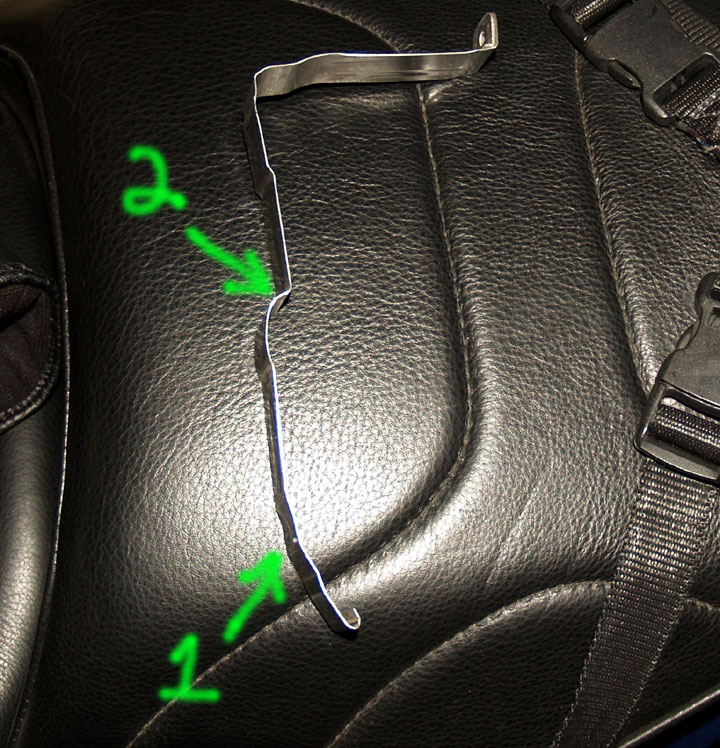
Take the original battery strap and flatten it out. All except the top part which needs a bend at about 3.25 inches.
On the bottom edge you need to add a slight bend towards the battery about where the arrow is. This will help it catch the lip when installing it.
See the bend on number 1? That is correct.
See the bend in number 2? Flatten that out altogether. Otherwise it wont fit right.
See the bend in number 2? Flatten that out altogether. Otherwise it wont fit right.
Install the battery strap with a T-27 Torx. Make sure it does not pull too hard on the edge of the battery. You may have to adjust the bend of the strap to get it right.
Strap correctly installed.
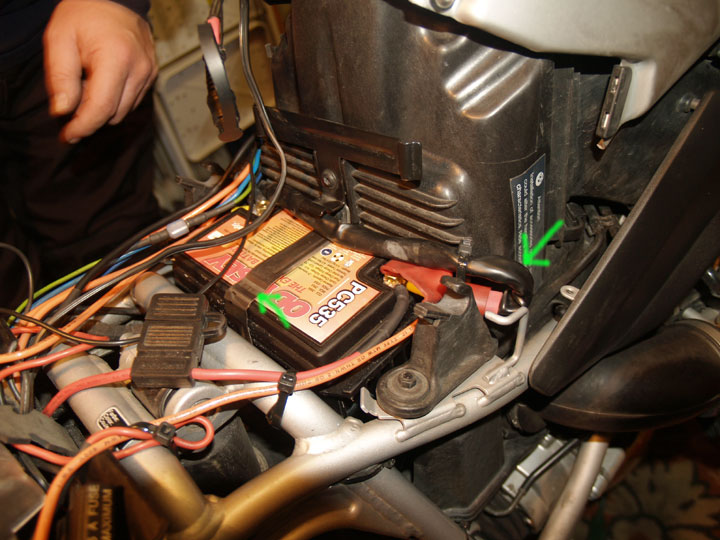
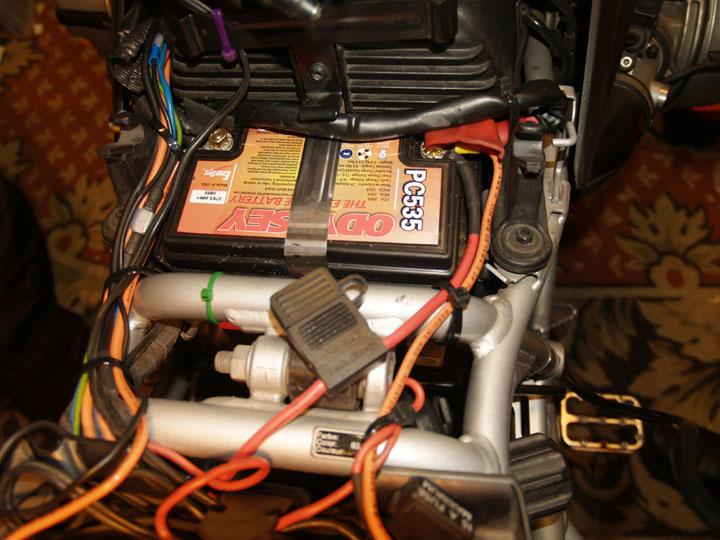
Here is Kermit�s finished.
Note: The battery cables now come up from the left. The negative cable is pulled back and bent over to fit the lugs. We tie-strapped it in place out of the way. The positive comes across the battery and is similarly curved back and tie-strapped in place.
Note: The battery cables now come up from the left. The negative cable is pulled back and bent over to fit the lugs. We tie-strapped it in place out of the way. The positive comes across the battery and is similarly curved back and tie-strapped in place.
Here is a close-up of the positive cable tied down.
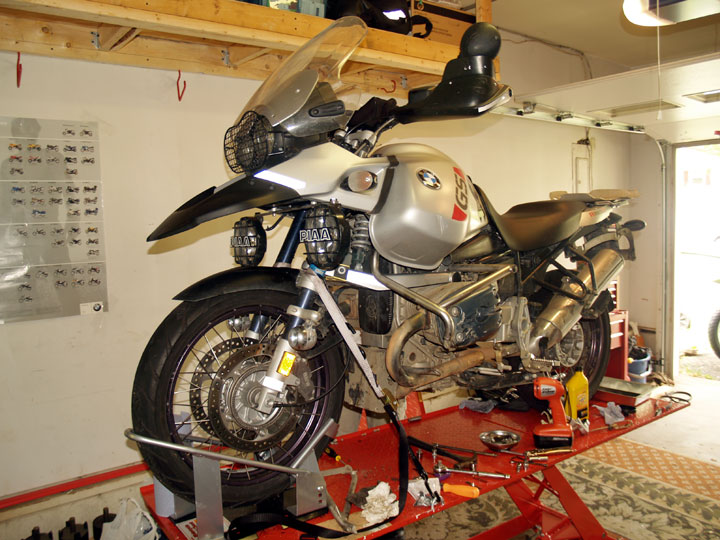
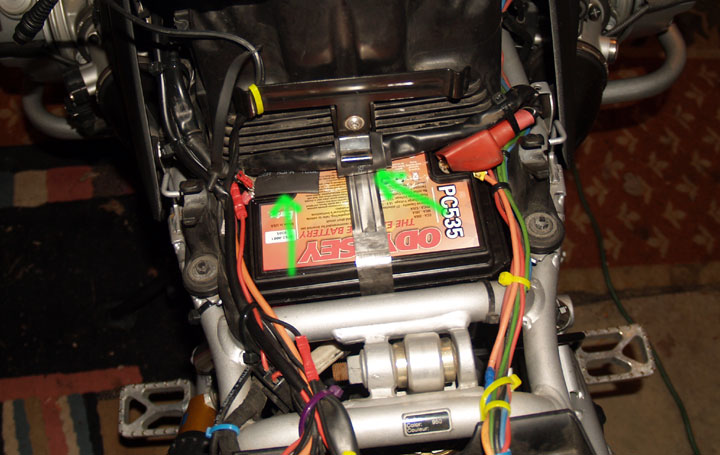
A few weeks later I got around to doing mine, and here is the result.
I did mine exactly the same as Kermit�s, but I added a roll of shrink-wrap over the positive cable under the Owners Manual clip and made the clip a stronger hold-down. I added a similar piece of shrink-wrap under the positive cable over the negative terminal.
Kermit�s bike has several thousand miles on it since, and mine about 3K. Both are doing great, no clearance issues at all with the seat bar, or any other issues. I expect they will both do fine on our 7K mile summer trip!
Just $109 from www.batteriesplus.com ignore the web price, go to the store. Great battery, noticeably more starting power! Note: The battery prices seem to be rapidly rising.
Jim
Download a PDF of this proces's


JVB Productions
Motorcycle Maintenance and Repair Videos